A bad brownie is one of life’s genuine disappointments: cakey, dry, and somehow managing to taste of very little despite being made almost entirely of chocolate and butter. Mary Berry’s brownie recipe fixes all of that. Fudgy in the centre, slightly crisp on top, and deeply chocolatey throughout. I’ve tried dozens of brownie recipes over the years, and this one sits firmly at the top of the pile.
What Are Mary Berry’s Brownies?
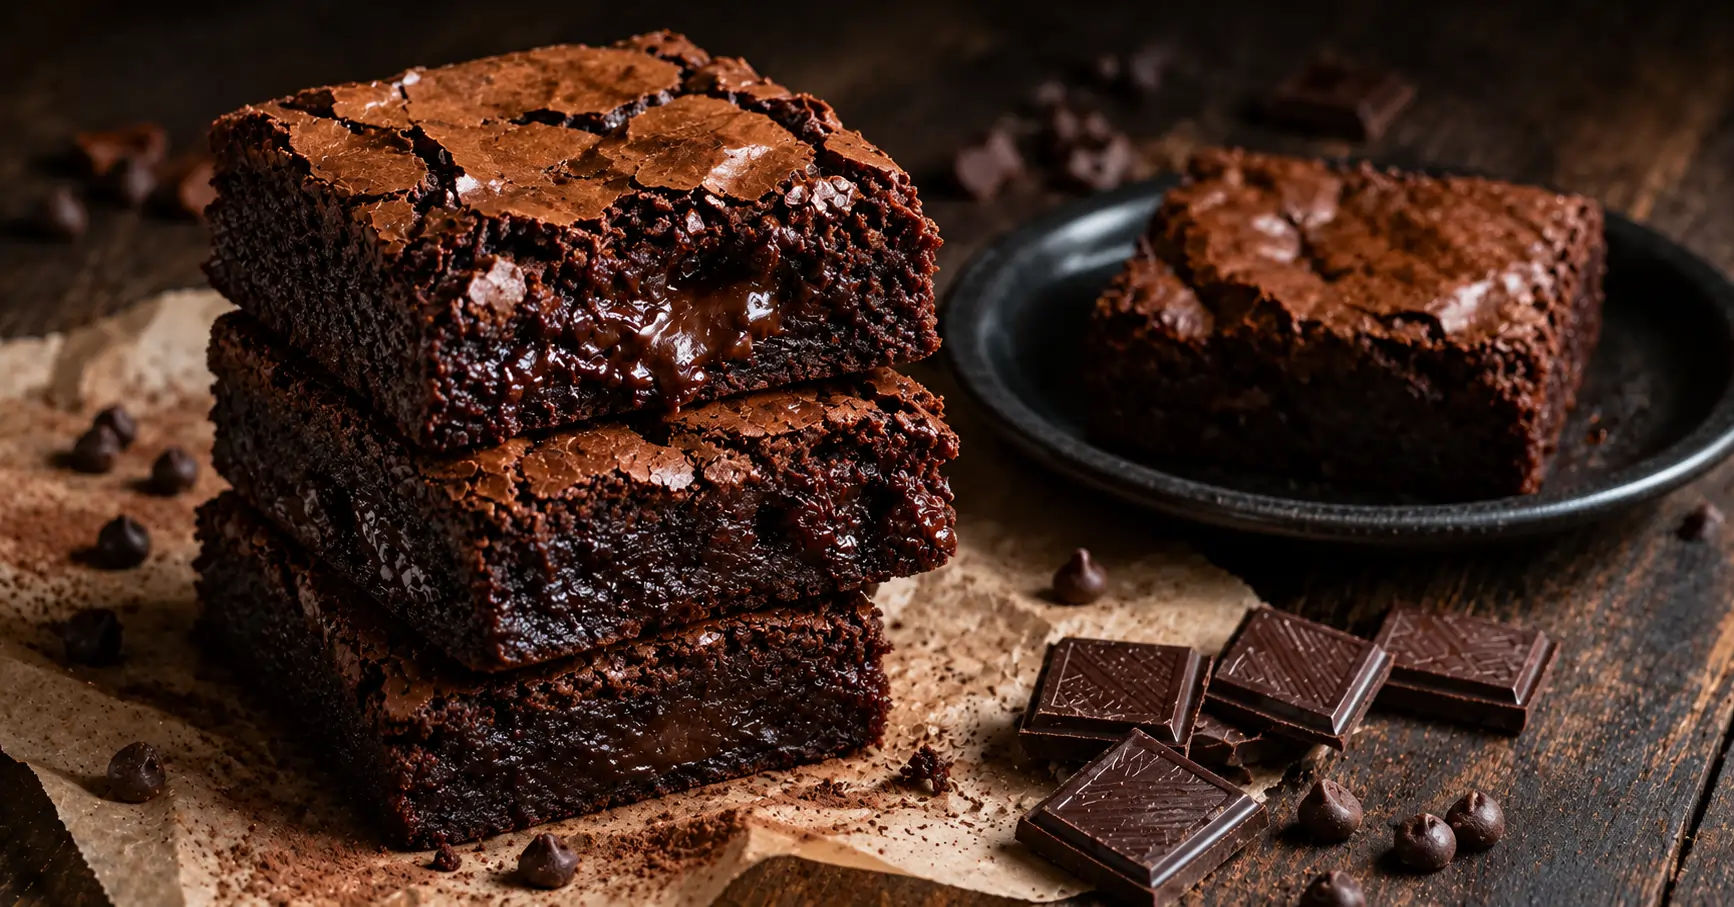
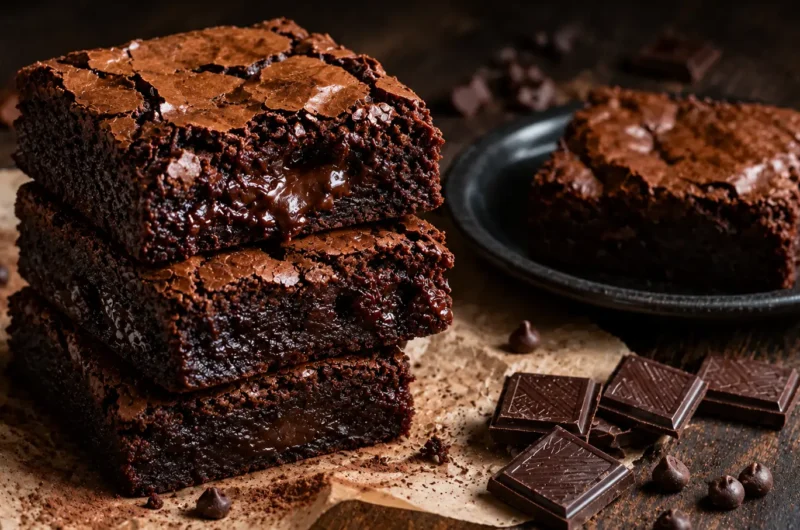
Mary Berry’s brownies are rich, fudgy chocolate squares made with melted dark chocolate and butter, plenty of sugar, eggs, and a modest amount of flour, just enough to hold everything together without making them cakey. The result is that perfect middle ground: dense and squidgy in the centre, with a delicate, papery crust on top that shatters slightly when you bite into it. That crust, by the way, is the sign of a properly made brownie. Anything else is just chocolate cake cut into squares.
Ingredients You’ll Need
For the Brownies
- 185g (6½oz) unsalted butter, cut into cubes
- 185g (6½oz) best quality dark chocolate (70% cocoa solids) broken into pieces
- 85g (3oz) plain flour
- 40g (1½oz) cocoa powder
- 3 large eggs
- 275g (10oz) golden caster sugar
- 100g (3½oz) dark or milk chocolate chips, optional but highly recommended
FYI, quality chocolate is non-negotiable here. With so few ingredients in a brownie, every single one of them shows up in the final flavour. A 70% dark chocolate gives you the deep, slightly bitter edge that makes a great brownie taste complex rather than just sweet. Budget cooking chocolate produces a flat, one-dimensional result. Don’t do it to yourself.
How to Make Mary Berry’s Brownies
Step 1: Melt the Chocolate and Butter
Preheat your oven to 180°C / 160°C fan / Gas 4. Grease and line a 20x20cm (8×8 inch) square brownie tin with baking parchment, leaving overhang on two sides for easy lifting later.
Place the butter and broken dark chocolate together in a heatproof bowl set over a pan of barely simmering water. Make sure the base of the bowl doesn’t touch the water. Gentle indirect heat is what melts chocolate smoothly. Stir occasionally until both are completely melted and combined into a glossy, dark mixture.
Remove from the heat and leave to cool for 10 minutes. Rushing this step and adding eggs to hot chocolate gives you scrambled chocolate eggs. Nobody wants that.
Step 2: Whisk the Eggs and Sugar
In a large bowl, whisk the eggs and golden caster sugar together with an electric hand mixer for 3–4 minutes until the mixture turns pale, thick, and almost mousse-like. This is the step that creates that iconic papery, crackled brownie top. Don’t skip it and don’t under-whisk. The air you incorporate here is what gives the surface that beautiful sheen.
Step 3: Combine Everything
Pour the cooled chocolate mixture into the egg and sugar mixture. Use a large spatula to fold it together gently, no electric mixer from this point forward. You’re preserving the air you just worked to create. Fold until just combined and no streaks remain.
Sift the flour and cocoa powder directly into the bowl. Fold again with the same gentle motion until the batter just comes together. Fold in the chocolate chips if using, and IMO, always use them. That pocket of melted chocolate in the centre of a warm brownie square is genuinely one of life’s great pleasures.
Step 4: Bake
Pour the batter into the prepared tin and spread it evenly into the corners. Bake for 25–30 minutes. Here’s where most people go wrong: don’t wait for a clean skewer. A perfectly baked brownie gives you a skewer with moist, fudgy crumbs attached, not wet batter. If the skewer comes out completely clean, you’ve overbaked them. Good news: they’ll still taste fine. Bad news: they won’t be fudgy.
The top should look set and slightly cracked. The edges should feel firm when you press them gently, while the centre still has a very slight wobble. Pull them out at that point. Trust the wobble.
Step 5: Cool and Cut
This is the hardest part: leave the brownies to cool completely in the tin before attempting to cut them. Hot brownies are structurally unstable and will fall apart when sliced. I know waiting is painful. Do it anyway.
Once completely cool, lift the whole slab out using the parchment overhang. Place on a chopping board and cut into squares with a sharp knife. Wipe the blade clean between cuts for neat, sharp edges. Aim for 16 squares or 9 if you’ve had a particularly difficult week.
Tips for the Perfect Mary Berry Brownies
- Don’t overbake. The most common brownie mistake, by a significant margin. Err on the side of underdone; they firm up considerably as they cool.
- Use golden caster sugar, not regular. Golden caster sugar has a subtle caramel note that adds depth to the chocolate flavour. Worth the small extra effort to find it.
- Cool completely before cutting. Warm brownies look tempting, but slice messily. Cold brownies cut cleanly and hold their shape perfectly.
- Storage: Keep in an airtight container at room temperature for up to 5 days. They get even fudgier by day two if they last that long.
- Freeze beautifully: Wrap individual squares in clingfilm and freeze for up to 3 months. Defrost at room temperature for about an hour, and they taste freshly baked.
Frequently Asked Questions
Why are my brownies cakey instead of fudgy? Two likely culprits are too much flour or overbaking. Mary Berry’s recipe uses a deliberately small amount of flour for a reason. Stick to the quantities exactly and pull them from the oven while the centre still wobbles slightly.
Can I add nuts to Mary Berry’s brownies? Absolutely. Fold in 100g of roughly chopped walnuts or pecans at the same time as the chocolate chips. They add a great textural contrast to the fudgy crumb.
Can I use milk chocolate instead of dark? You can, but the brownies will be noticeably sweeter and less complex in flavour. If you find 70% dark chocolate too bitter on its own, try a 50–60% dark chocolate as a middle ground; you’ll still get a proper brownie flavour without the intensity.
Final Thoughts
Mary Berry’s brownies are, quite simply, the brownie recipe to end all brownie recipes. They hit every mark: fudgy centre, crackled top, deep chocolate flavour, and a texture that holds together beautifully for days. No gimmicks, no unusual ingredients, just a properly executed classic.
Bake a batch this weekend. Hide at least four squares for yourself before you tell anyone else they’re ready. That’s not greed, that’s just sensible planning.
Mary Berry Brownies Recipe
Course: Desserts4
servings30
minutes40
minutes300
kcalIngredients
185g (6½oz) unsalted butter, cut into cubes
185g (6½oz) best quality dark chocolate (70% cocoa solids) broken into pieces
85g (3oz) plain flour
40g (1½oz) cocoa powder
3 large eggs
275g (10oz) golden caster sugar
100g (3½oz) dark or milk chocolate chips, optional but highly recommended
Directions
- Melt the Chocolate and Butter
Preheat your oven to 180°C / 160°C fan / Gas 4. Grease and line a 20x20cm (8×8 inch) square brownie tin with baking parchment, leaving overhang on two sides for easy lifting later.
Place the butter and broken dark chocolate together in a heatproof bowl set over a pan of barely simmering water. Make sure the base of the bowl doesn’t touch the water. Gentle indirect heat is what melts chocolate smoothly. Stir occasionally until both are completely melted and combined into a glossy, dark mixture.
Remove from the heat and leave to cool for 10 minutes. Rushing this step and adding eggs to hot chocolate gives you scrambled chocolate eggs. Nobody wants that. - Whisk the Eggs and Sugar
In a large bowl, whisk the eggs and golden caster sugar together with an electric hand mixer for 3–4 minutes until the mixture turns pale, thick, and almost mousse-like. This is the step that creates that iconic papery, crackled brownie top. Don’t skip it and don’t under-whisk. The air you incorporate here is what gives the surface that beautiful sheen. - Combine Everything
Pour the cooled chocolate mixture into the egg and sugar mixture. Use a large spatula to fold it together gently, no electric mixer from this point forward. You’re preserving the air you just worked to create. Fold until just combined and no streaks remain.
Sift the flour and cocoa powder directly into the bowl. Fold again with the same gentle motion until the batter just comes together. Fold in the chocolate chips if using, and IMO, always use them. That pocket of melted chocolate in the centre of a warm brownie square is genuinely one of life’s great pleasures. - Bake
Pour the batter into the prepared tin and spread it evenly into the corners. Bake for 25–30 minutes. Here’s where most people go wrong: don’t wait for a clean skewer. A perfectly baked brownie gives you a skewer with moist, fudgy crumbs attached, not wet batter. If the skewer comes out completely clean, you’ve overbaked them. Good news: they’ll still taste fine. Bad news: they won’t be fudgy.
The top should look set and slightly cracked. The edges should feel firm when you press them gently, while the centre still has a very slight wobble. Pull them out at that point. Trust the wobble. - Cool and Cut
This is the hardest part: leave the brownies to cool completely in the tin before attempting to cut them. Hot brownies are structurally unstable and will fall apart when sliced. I know waiting is painful. Do it anyway.
Once completely cool, lift the whole slab out using the parchment overhang. Place on a chopping board and cut into squares with a sharp knife. Wipe the blade clean between cuts for neat, sharp edges. Aim for 16 squares or 9 if you’ve had a particularly difficult week.