No ice cream machine. No custard. No standing over a hot stove stirring for twenty minutes. Mary Berry’s condensed milk ice cream is the recipe that makes all of that unnecessary, and the result is smoother, creamier, and more scoopable than you’d ever expect from something this straightforward. I made my first batch on a whim during a heatwave and haven’t looked back since.
What Is Mary Berry’s Condensed Milk Ice Cream?
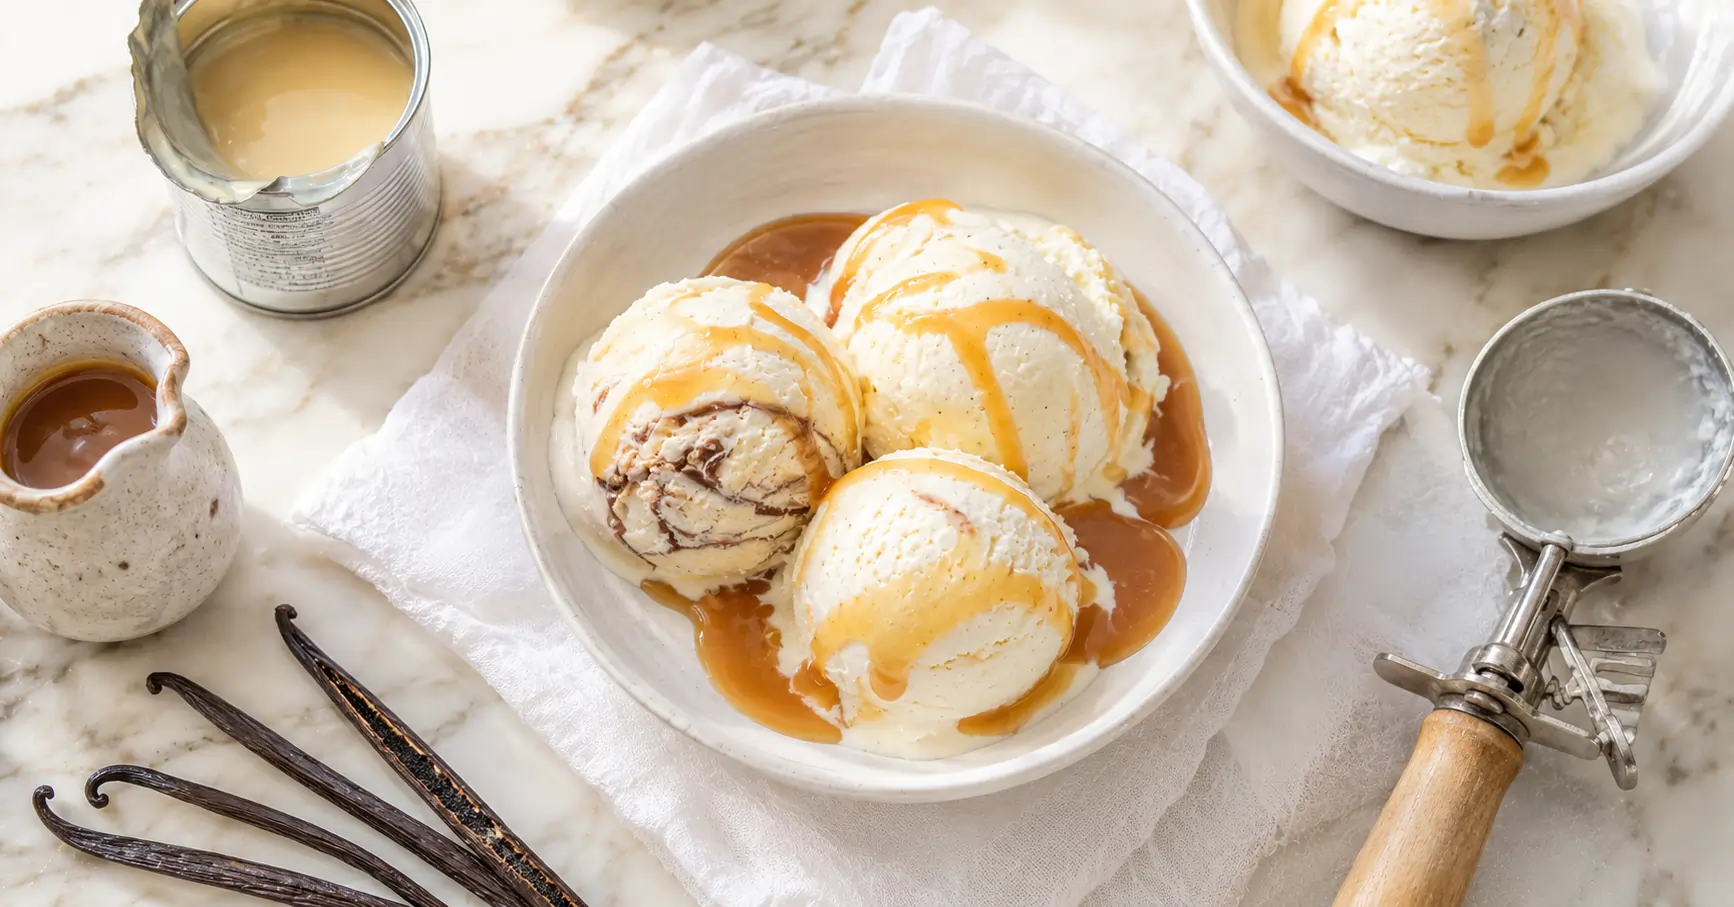
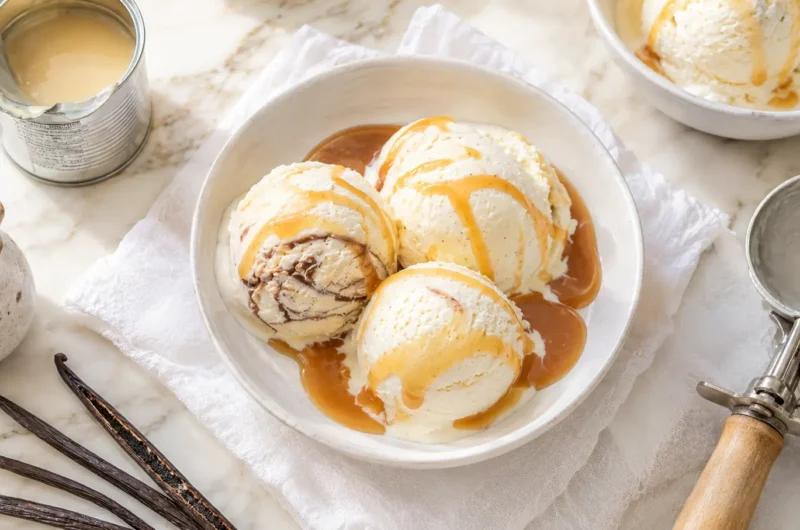
Mary Berry’s ice cream with condensed milk is a no-churn frozen dessert made by whipping double cream to soft peaks and folding in sweetened condensed milk, vanilla, and your choice of flavourings. The condensed milk does double duty here; it sweetens the ice cream and prevents the large ice crystals that normally form in homemade frozen desserts, giving you that smooth, creamy, almost professional texture without any churning whatsoever.
Two ingredients. A bowl. A freezer. That’s genuinely it.
Ingredients You’ll Need
For the Base Ice Cream
- 600ml (1 pint) double cream (heavy cream)
- 1 x 397g tin sweetened condensed milk
- 2 tsp pure vanilla extract
- Pinch of salt, don’t skip this; it sharpens every other flavour in the mix
Popular Flavour Add-ins
- Chocolate swirl: 4 tbsp chocolate fudge sauce, rippled through before freezing
- Strawberry: 200g fresh strawberries, blended and stirred through
- Salted caramel: 4 tbsp caramel sauce plus an extra pinch of sea salt flakes
- Honeycomb: 2 crushed Crunchie bars folded in just before freezing
- Coffee: 2 tbsp instant espresso powder dissolved in 1 tbsp hot water, cooled
FYI, use full-fat double cream, not single cream, whipping cream, or any reduced-fat alternative. The fat content in double cream is what whips up to the volume and stability you need. Anything lower in fat and you’ll end up with a disappointingly icy, flat result.
How to Make Mary Berry’s Condensed Milk Ice Cream
Step 1: Whip the Cream
Pour the cold double cream into a large, clean bowl. Whip with an electric hand mixer until soft peaks form. The cream should hold its shape when you lift the beaters, but still look billowy and soft, not stiff or grainy. This takes about 3–4 minutes on medium-high speed.
Soft peaks are the sweet spot here. Overwhipped cream turns grainy and buttery, which produces a heavier, less smooth ice cream. Stop the moment the cream holds a gentle peak and wobbles slightly when you tilt the bowl.
Step 2: Fold In the Condensed Milk
Pour the condensed milk, vanilla extract, and a pinch of salt into the whipped cream. Fold everything together gently with a large spatula. Don’t use the electric mixer at this stage. You’re trying to combine the two without deflating the air you’ve just whipped into the cream. That air is exactly what gives no-churn ice cream its light, creamy texture rather than a dense, icy block.
Fold until just combined and no streaks of condensed milk remain visible. The mixture should look thick, glossy, and mousse-like.
Step 3: Add Your Flavourings
If you’re adding a swirl chocolate sauce, caramel, or fruit puree, pour it over the cream mixture and use a skewer or knife to ripple it through with just 3–4 gentle figure-of-eight strokes. Less is more. Over-stirring incorporates the swirl completely, and you lose those beautiful ribbons of flavour running through the finished ice cream.
For mix-ins like crushed honeycomb or chocolate chips, fold them in at this point with the spatula.
Step 4: Freeze
Pour the mixture into a 2-litre freezer-safe container; a loaf tin lined with clingfilm works brilliantly and gives you that classic ice cream bar shape when turned out. Smooth the top, press a sheet of clingfilm directly onto the surface to prevent ice crystals forming, seal with a lid or foil, and freeze for a minimum of 6 hours overnight is even better.
Don’t rush this step. Under-frozen no-churn ice cream is soft, soupy, and structurally useless for scooping. Give it the full time it needs.
Step 5: Scoop and Serve
Remove the ice cream from the freezer 5–10 minutes before serving and leave it at room temperature to soften slightly. No-churn ice cream freezes harder than churned ice cream, so this brief rest period makes scooping dramatically easier and gives you those beautiful, clean scoops rather than scraped shards.
Run your ice cream scoop under hot water between scoops for extra clean results. IMO, this one small step makes home-scooped ice cream look genuinely professional.
Tips for the Best No-Churn Condensed Milk Ice Cream
- Chill your bowl and beaters in the fridge for 15 minutes before whipping the cream. Cold equipment whips cream faster and to a greater volume.
- Don’t over-mix after adding the condensed milk. The more you work the mixture, the more air you lose and the denser the finished ice cream becomes.
- Label and date your container. No-churn ice cream keeps well for up to 6 weeks in the freezer, but it’s at its absolute best in the first two weeks before any slight ice crystal formation begins.
- Use good vanilla. With such a simple base, vanilla extract quality genuinely matters. A good quality extract or vanilla bean paste makes a noticeable difference to the finished flavour.
Frequently Asked Questions
Why is my no-churn ice cream icy rather than creamy? The most common cause is using cream with insufficient fat content. Double cream (48% fat) is essential; anything lower won’t whip to the right volume or stability. Another cause is not pressing cling film directly onto the surface before freezing, which allows air in and promotes ice crystal formation.
Can I use low-fat condensed milk? Technically, yes, but the texture suffers noticeably. The full-fat sweetened condensed milk is what inhibits ice crystal formation and gives you that smooth, creamy result. Low-fat versions produce a slightly icier texture.
How long does Mary Berry’s condensed milk ice cream keep? Up to 6 weeks in the freezer in an airtight container. For the best texture and flavour, eat within the first 2 weeks. After that, it’s still perfectly edible, just slightly less creamy.
Final Thoughts
Mary Berry’s condensed milk ice cream is the great equaliser of home desserts; it gives you genuinely impressive results with almost zero technical skill required. No machine, no custard, no fuss. Just whip, fold, freeze, and scoop.
Make the vanilla base once to get a feel for the method, then start experimenting with flavours. Salted caramel, espresso, honeycomb, raspberry swirl, the possibilities are genuinely endless. Your freezer is about to become your favourite place in the house.
Mary Berry’s Ice Cream with Condensed Milk Recipe
Course: Desserts4
servings30
minutes40
minutes300
kcalIngredients
For the Base Ice Cream
600ml (1 pint) double cream (heavy cream)
1 x 397g tin sweetened condensed milk
2 tsp pure vanilla extract
Pinch of salt, don’t skip this; it sharpens every other flavour in the mix
Popular Flavour Add-ins
Chocolate swirl: 4 tbsp chocolate fudge sauce, rippled through before freezing
Strawberry: 200g fresh strawberries, blended and stirred through
Salted caramel: 4 tbsp caramel sauce plus an extra pinch of sea salt flakes
Honeycomb: 2 crushed Crunchie bars folded in just before freezing
Coffee: 2 tbsp instant espresso powder dissolved in 1 tbsp hot water, cooled
Directions
- Whip the Cream
Pour the cold double cream into a large, clean bowl. Whip with an electric hand mixer until soft peaks form. The cream should hold its shape when you lift the beaters, but still look billowy and soft, not stiff or grainy. This takes about 3–4 minutes on medium-high speed.
Soft peaks are the sweet spot here. Overwhipped cream turns grainy and buttery, which produces a heavier, less smooth ice cream. Stop the moment the cream holds a gentle peak and wobbles slightly when you tilt the bowl. - Fold In the Condensed Milk
Pour the condensed milk, vanilla extract, and a pinch of salt into the whipped cream. Fold everything together gently with a large spatula. Don’t use the electric mixer at this stage. You’re trying to combine the two without deflating the air you’ve just whipped into the cream. That air is exactly what gives no-churn ice cream its light, creamy texture rather than a dense, icy block.
Fold until just combined and no streaks of condensed milk remain visible. The mixture should look thick, glossy, and mousse-like. - Add Your Flavourings
If you’re adding a swirl chocolate sauce, caramel, or fruit puree, pour it over the cream mixture and use a skewer or knife to ripple it through with just 3–4 gentle figure-of-eight strokes. Less is more. Over-stirring incorporates the swirl completely, and you lose those beautiful ribbons of flavour running through the finished ice cream.
For mix-ins like crushed honeycomb or chocolate chips, fold them in at this point with the spatula. - Freeze
Pour the mixture into a 2-litre freezer-safe container; a loaf tin lined with clingfilm works brilliantly and gives you that classic ice cream bar shape when turned out. Smooth the top, press a sheet of clingfilm directly onto the surface to prevent ice crystals forming, seal with a lid or foil, and freeze for a minimum of 6 hours overnight is even better.
Don’t rush this step. Under-frozen no-churn ice cream is soft, soupy, and structurally useless for scooping. Give it the full time it needs. - Scoop and Serve
Remove the ice cream from the freezer 5–10 minutes before serving and leave it at room temperature to soften slightly. No-churn ice cream freezes harder than churned ice cream, so this brief rest period makes scooping dramatically easier and gives you those beautiful, clean scoops rather than scraped shards.
Run your ice cream scoop under hot water between scoops for extra clean results. IMO, this one small step makes home-scooped ice cream look genuinely professional.