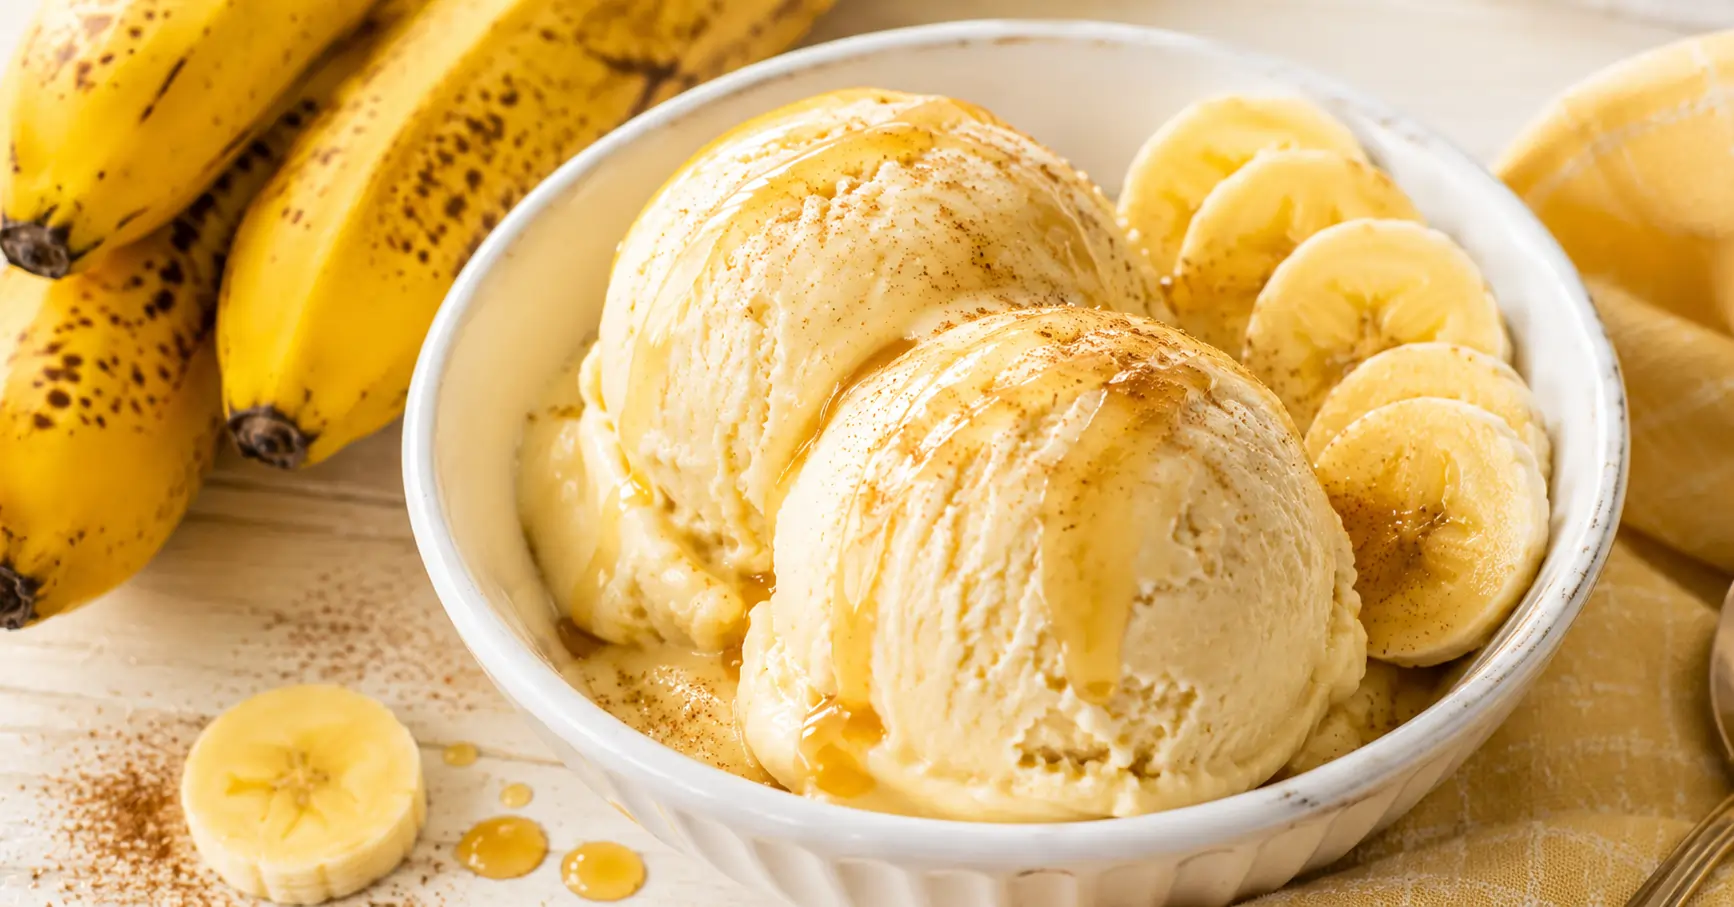
This Ninja Creami banana ice cream uses just a handful of ingredients and delivers a scoop that’s genuinely creamy, not icy, not grainy, not “healthy but you can tell. I made this on a whim one afternoon when I had three overripe bananas sitting on the counter, and it’s been a regular rotation ever since.
Why Make Banana Ice Cream in the Ninja Creami?
The Ninja Creami turns a frozen banana base into smooth, scoopable ice cream in under two minutes. Unlike blending frozen bananas alone (which works, but the texture is more like soft serve), the Creami processes the frozen pint at high speed to create a consistently creamy result every single time.
It also handles the natural sweetness of ripe bananas brilliantly. You need very little added sugar, which makes this one of the lighter options in the Ninja Creami recipe lineup.
Ingredients
You don’t need much here. That’s kind of the whole point.
- 3 medium ripe bananas (the spottier, the better, more natural sweetness)
- ½ cup whole milk or heavy cream for a richer result
- 2 tablespoons sugar (optional, taste your bananas first)
- 1 teaspoon vanilla extract
- Pinch of salt
FYI, overripe bananas with brown spots contain more natural sugar than yellow ones. If your bananas are already very sweet, skip the added sugar entirely, and you won’t miss it.
Step-by-Step: How to Make Ninja Creami Banana Ice Cream
Step 1: Blend Your Base
Peel the bananas and add them to a blender with the milk, sugar (if using), vanilla extract, and salt. Blend until completely smooth, no lumps, no chunks.
Give it a taste here. If it doesn’t taste sweet and banana-forward enough, add another half banana or a touch more vanilla. You want the base to taste slightly more intense than you’d want the final ice cream; freezing mutes flavors a little.
Step 2: Pour and Freeze
Pour the blended mixture into your Ninja Creami pint container, filling it to the max fill line. Snap the lid on, set it flat in the freezer, and leave it for a full 24 hours.
I know. Waiting is the worst part. But under-frozen pints don’t process well, and you’ll end up with a soupy, uneven result.
Step 3: Let It Temper
Pull the pint from the freezer and let it sit at room temperature for 5 minutes before processing. This small step matters; it takes the edge off the hardness and helps the machine work smoothly without straining.
Step 4: Process in the Ninja Creami
Lock the pint into the outer bowl and select the Ice Cream function. Let the full cycle run without interrupting it.
After the first spin, check the texture. If it looks crumbly or has an uneven consistency, hit Re-spin once. That second pass almost always brings it to that perfect, smooth, creamy texture.
Step 5: Scoop and Serve
Serve immediately for the best soft-serve style texture. If you prefer a firmer scoop, put the lid back on and freeze for another 20–30 minutes after processing.
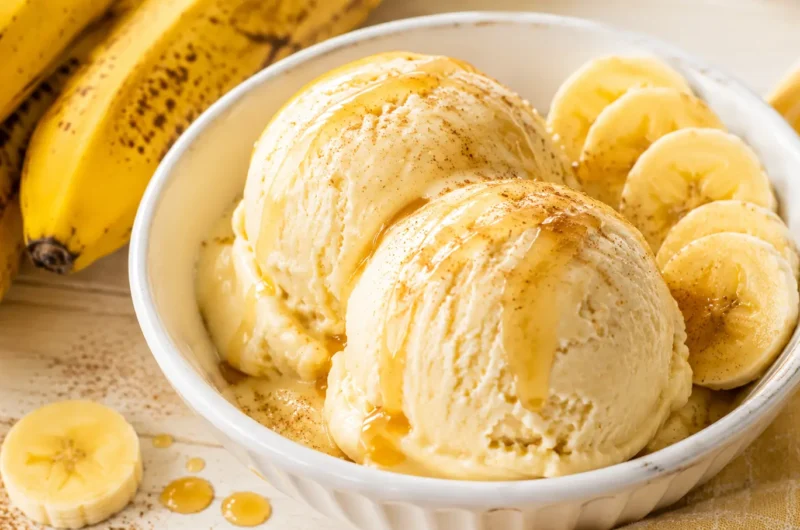
Top with sliced fresh banana, a drizzle of honey, or crushed graham crackers if you’re feeling fancy. IMO, a pinch of cinnamon on top takes the whole thing up a level.
Tips for the Best Ninja Creami Banana Ice Cream
- Use the ripest bananas you can find. This single factor makes the biggest difference to both flavor and natural sweetness.
- Whole milk gives a creamier result than low-fat milk. The fat content matters for texture; don’t swap it out if you want proper ice cream consistency.
- Don’t overfill the pint. The mixture expands slightly as it freezes. Stay below the max fill line.
- Add mix-ins after the first spin. If you want chocolate chips or peanut butter swirls, use the Mix-In function after the initial Ice Cream cycle, adding them to the base before freezing ruins the texture.
Flavor Variations to Try
Once you’ve nailed the base, these variations are all worth trying:
- Banana Foster add 1 tablespoon brown sugar and ½ teaspoon rum extract to the base before freezing
- Peanut Butter Banana swirl in 2 tablespoons of peanut butter after the first spin using the Mix-In function
- Banana Chocolate Chip uses the Mix-In cycle to fold in mini chocolate chips after processing
- Banana Coconut swap the whole milk for full-fat coconut milk for a tropical twist
Common Questions
Can I use frozen bananas straight from a bag? Yes, thaw them slightly first so they blend smoothly, then mix with the other ingredients and pour into the pint as normal.
Why did my banana ice cream come out icy? Usually, it means the pint wasn’t frozen long enough, or the banana-to-liquid ratio was off. Make sure it freezes for a full 24 hours, and don’t add too much milk.
Can I make this without any added sugar? Absolutely, if your bananas are ripe enough, the natural sweetness carries the whole recipe on its own. Start without sugar and only add it if the blended base tastes flat.
Final Thoughts
Ninja Creami banana ice cream is one of those recipes that sounds too simple to be impressive until you actually make it. The texture is genuinely creamy, the flavor is clean and natural, and the whole thing costs almost nothing to put together.
Use ripe bananas, freeze the full 24 hours, and don’t skip the temper step. Do those three things, and you’ll get a result that honestly rivals a scoop from a proper ice cream shop.
Ninja Creami Banana Ice Cream Recipe
Course: Desserts4
servings30
minutes40
minutes300
kcalIngredients
3 medium ripe bananas (the spottier, the better, more natural sweetness)
½ cup whole milk or heavy cream for a richer result
2 tablespoons sugar (optional, taste your bananas first)
1 teaspoon vanilla extract
Pinch of salt
Directions
- Blend Your Base
Peel the bananas and add them to a blender with the milk, sugar (if using), vanilla extract, and salt. Blend until completely smooth, no lumps, no chunks.
Give it a taste here. If it doesn’t taste sweet and banana-forward enough, add another half banana or a touch more vanilla. You want the base to taste slightly more intense than you’d want the final ice cream; freezing mutes flavors a little. - Pour and Freeze
Pour the blended mixture into your Ninja Creami pint container, filling it to the max fill line. Snap the lid on, set it flat in the freezer, and leave it for a full 24 hours.
I know. Waiting is the worst part. But under-frozen pints don’t process well, and you’ll end up with a soupy, uneven result. - Let It Temper
Pull the pint from the freezer and let it sit at room temperature for 5 minutes before processing. This small step matters; it takes the edge off the hardness and helps the machine work smoothly without straining. - Process in the Ninja Creami
Lock the pint into the outer bowl and select the Ice Cream function. Let the full cycle run without interrupting it.
After the first spin, check the texture. If it looks crumbly or has an uneven consistency, hit Re-spin once. That second pass almost always brings it to that perfect, smooth, creamy texture. - Scoop and Serve
Serve immediately for the best soft-serve style texture. If you prefer a firmer scoop, put the lid back on and freeze for another 20–30 minutes after processing.
Top with sliced fresh banana, a drizzle of honey, or crushed graham crackers if you’re feeling fancy. IMO, a pinch of cinnamon on top takes the whole thing up a level.