The Victoria sponge is the cake that defines British baking, and Mary Berry’s version is the gold standard. Two golden sponge layers, a generous spread of strawberry jam, a cloud of freshly whipped cream in the middle, and a dusting of icing sugar on top. Simple. Iconic. Completely impossible to improve upon. I’ve been making this cake for years, and it still gets the same reaction every time people go slightly quiet when they take the first bite, which is honestly the highest compliment a cake can receive.
What Is Mary Berry’s Victoria Sponge?
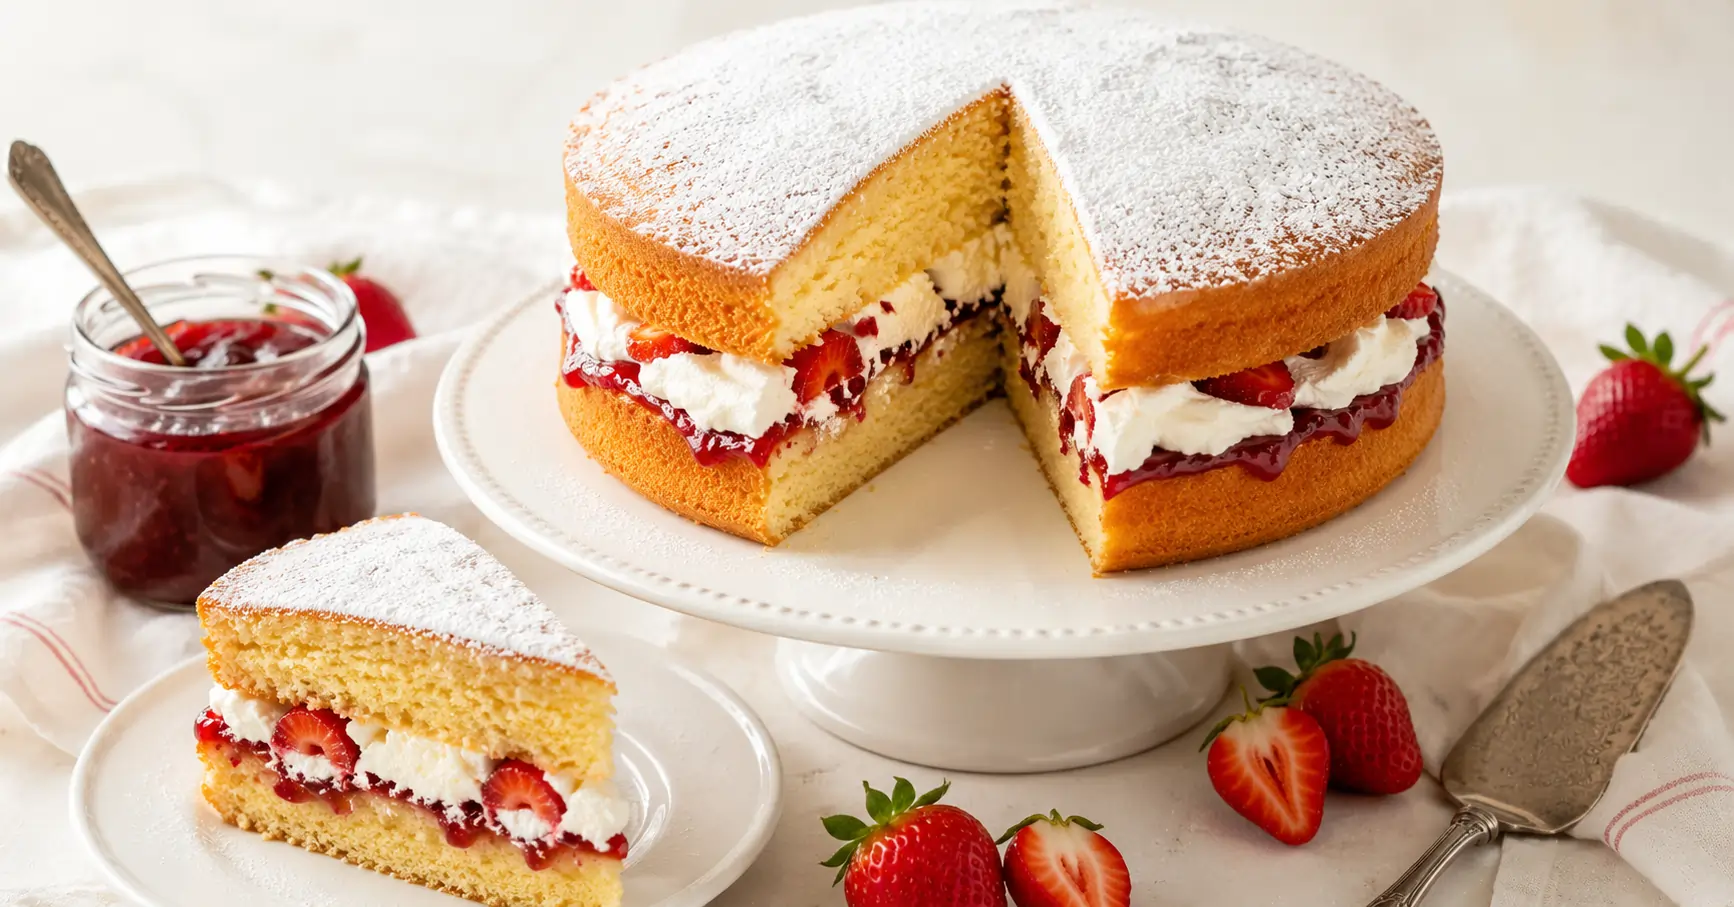
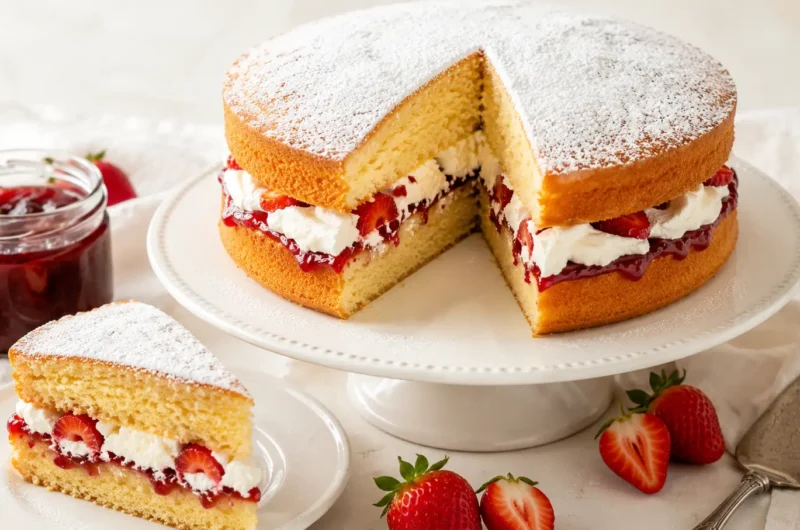
Mary Berry’s Victoria sponge is a classic British layered cake made from two equal rounds of light, buttery sponge sandwiched together with strawberry jam and freshly whipped double cream. Named after Queen Victoria, who reportedly enjoyed a slice with her afternoon tea, this cake has remained unchanged and unchallenged as the benchmark of British home baking for well over a century. Mary Berry’s recipe uses her all-in-one method, making it accessible for bakers of every level without sacrificing a single crumb of quality.
Ingredients You’ll Need
For the Sponge
- 225g (8oz) softened unsalted butter
- 225g (8oz) caster sugar
- 4 large eggs
- 225g (8oz) self-raising flour
- 2 tsp baking powder
- 2 tbsp milk
For the Filling
- 4 tbsp good strawberry jam, use a proper conserve with visible fruit, not a thin, syrupy spread
- 300ml (½ pint) double cream, whipped to soft peaks
- Fresh strawberries, halved (optional but beautiful)
To Finish
- Icing sugar, for dusting
FYI, equal weights of butter, sugar, flour, and eggs are the foundation of a classic Victoria sponge. If you ever want to scale the recipe up or down, just keep all four in equal quantities and adjust the tin size accordingly. It’s one of the most reliable ratios in baking
How to Make Mary Berry’s Victoria Sponge
Step 1: Prep Your Tins and Oven
Preheat your oven to 180°C / 160°C fan / Gas 4. Grease two 20cm (8-inch) round sandwich tins and line the bases with circles of baking parchment. Grease the sides as well as the base an ungreased side is how you end up with half your sponge stuck to the tin when you try to turn it out, which is a situation nobody needs.
Step 2: Make the All-In-One Batter
Put the softened butter, caster sugar, eggs, self-raising flour, baking powder, and milk into a large mixing bowl all at once. Beat with an electric hand mixer for exactly 2 minutes until smooth, pale, and well combined. Not one minute. Not three. Two minutes gives you the right amount of aeration without overworking the gluten.
The batter should look creamy and pale, almost like thick custard, and fall slowly off the beaters when lifted. If it looks too stiff, add a tiny splash more milk and beat briefly again.
Step 3: Divide and Bake
Weigh the batter before dividing it between the two tins, yes, actually weigh it. Equal batter in each tin means equal sponge layers, which means your finished cake looks properly balanced rather than lopsided. This one small step makes a visible difference to the final result.
Smooth the tops with a palette knife or the back of a spoon. Bake for 20–25 minutes until the sponges are golden, well risen, and spring back when you press the centre gently with your fingertip.
A skewer inserted into the middle should come out completely clean. Don’t open the oven before 18 minutes; the sponge needs that uninterrupted heat to rise properly, and a blast of cold air at the wrong moment will cause it to sink in the centre like a disappointed soufflé.
Step 4: Cool Completely
Turn the sponges out onto a wire rack immediately after removing from the oven. Peel off the parchment bases and leave them to cool completely, not mostly, not almost. Completely. Cream melts into a warm sponge and turns the whole filling into a sweet, soggy disaster. IMO, this is the step most people rush and then wonder why their filling slides out when they cut the cake. Patience here pays dividends.
Step 5: Assemble the Victoria Sponge
Place the flattest sponge layer upside down on your serving plate or cake stand. The flat bottom becomes your top surface for the jam. Spread the strawberry jam generously right to the edges. Spoon the whipped double cream on top of the jam and spread it evenly. Add the halved fresh strawberries over the cream if using.
Place the second sponge layer on top, right-side up, so the domed top faces upward. Press down very gently so everything sits together without squeezing the filling out the sides.
Dust generously with icing sugar through a fine sieve just before serving. That snowy white finish is the classic Mary Berry touch, clean, elegant, and needing nothing more.
Tips for the Perfect Mary Berry Victoria Sponge
- Room temperature ingredients always. Cold butter won’t cream; cold eggs risk curdling the batter. Take both out of the fridge at least an hour before you start.
- Don’t overfill with cream. A generous layer is perfect; too thick and the cream squeezes out the sides when you add the top layer and cut the cake. About 1cm depth of cream is the sweet spot.
- Use good jam. With so few components in this cake, every one of them shows up clearly. A proper strawberry conserve with real fruit pieces makes a noticeable difference over a cheap, sweet spread.
- Serve the same day. Once assembled with fresh cream, Victoria sponge is at its absolute best within a few hours. Store the assembled cake in the fridge and eat it within 24 hours.
- Bake the sponges ahead: The unfilled sponge layers keep well wrapped in clingfilm at room temperature for up to 2 days, or freeze for up to 3 months.
Frequently Asked Questions
Should a Victoria sponge have cream or just jam? Mary Berry’s recipe traditionally includes both jam and freshly whipped cream, though a classic Victoria sponge historically used only jam with buttercream. Both are correct; cream is simply more indulgent and, honestly, considerably better.
Why did my Victoria sponge come out dense and flat? Usually caused by cold butter that didn’t cream properly, undermixing the batter, or opening the oven too early. Make sure the butter is genuinely soft before you start and give the batter its full 2 minutes of beating.
Can I use buttercream instead of fresh cream? Yes, a vanilla buttercream works beautifully and gives you a more stable filling that holds at room temperature for longer. Mix 100g softened butter with 200g sifted icing sugar and a teaspoon of vanilla extract until smooth and fluffy.
Final Thoughts
Mary Berry’s Victoria sponge is the cake every baker should have in their repertoire, not because it’s complicated, but because it’s perfect. When every element is executed well, it needs absolutely nothing else. No fancy decoration, no elaborate flavours, no clever technique beyond the basics done right.
Bake it for someone’s birthday, for a Sunday tea, or for no reason at all other than the fact that it’s Tuesday and the world is better with a Victoria sponge in it. Some things just don’t need justifying.
Mary Berry Victoria Sponge Recipe
Course: Desserts4
servings30
minutes40
minutes300
kcalIngredients
For the Sponge
225g (8oz) softened unsalted butter
225g (8oz) caster sugar
4 large eggs
225g (8oz) self-raising flour
2 tsp baking powder
2 tbsp milk
For the Filling
4 tbsp good strawberry jam, use a proper conserve with visible fruit, not a thin, syrupy spread
300ml (½ pint) double cream, whipped to soft peaks
Fresh strawberries, halved (optional but beautiful)
To Finish
Icing sugar, for dusting
Directions
- Prep Your Tins and Oven
Preheat your oven to 180°C / 160°C fan / Gas 4. Grease two 20cm (8-inch) round sandwich tins and line the bases with circles of baking parchment. Grease the sides as well as the base an ungreased side is how you end up with half your sponge stuck to the tin when you try to turn it out, which is a situation nobody needs. - Prep Your Tins and Oven
Preheat your oven to 180°C / 160°C fan / Gas 4. Grease two 20cm (8-inch) round sandwich tins and line the bases with circles of baking parchment. Grease the sides as well as the base an ungreased side is how you end up with half your sponge stuck to the tin when you try to turn it out, which is a situation nobody needs. - Divide and Bake
Weigh the batter before dividing it between the two tins, yes, actually weigh it. Equal batter in each tin means equal sponge layers, which means your finished cake looks properly balanced rather than lopsided. This one small step makes a visible difference to the final result.
Smooth the tops with a palette knife or the back of a spoon. Bake for 20–25 minutes until the sponges are golden, well risen, and spring back when you press the centre gently with your fingertip.
A skewer inserted into the middle should come out completely clean. Don’t open the oven before 18 minutes; the sponge needs that uninterrupted heat to rise properly, and a blast of cold air at the wrong moment will cause it to sink in the centre like a disappointed soufflé. - Cool Completely
Turn the sponges out onto a wire rack immediately after removing from the oven. Peel off the parchment bases and leave them to cool completely, not mostly, not almost. Completely. Cream melts into a warm sponge and turns the whole filling into a sweet, soggy disaster. IMO, this is the step most people rush and then wonder why their filling slides out when they cut the cake. Patience here pays dividends. - Assemble the Victoria Sponge
Place the flattest sponge layer upside down on your serving plate or cake stand. The flat bottom becomes your top surface for the jam. Spread the strawberry jam generously right to the edges. Spoon the whipped double cream on top of the jam and spread it evenly. Add the halved fresh strawberries over the cream if using.
Place the second sponge layer on top, right-side up, so the domed top faces upward. Press down very gently so everything sits together without squeezing the filling out the sides.
Dust generously with icing sugar through a fine sieve just before serving. That snowy white finish is the classic Mary Berry touch, clean, elegant, and needing nothing more.